JPEG images are among the most common image formats on the internet. People mainly use them for photos and realistic images.
JPEG stands for Joint Photographic Experts Group. This name comes from the team that created the standard in 1992. Yet, this image format was designed to reduce file size and storage space.
Still, sometimes they face upload size limits across sites, forms, and mobile applications. That is where the need to compress a JPEG image comes for many. And we'll show you how to compress JPEG images to meet any upload limit.
Why Image Size Matters?
Image size matters a lot, especially on websites, as they significantly increase page size. They make pages heavier and slow down loading. According to a study, the median home page was about 2.86 MB on desktop and 2.56 MB on mobile (as of 2025). Images make up the largest share of those bytes. That means a single large image can be a major culprit in slowing down a website.
Slow pages cost real users. Research conducted by Google in 2017 shows that a 1-3 second increase in page load time increases the traffic bounce rate by 32%. So, for websites, apps, and any other online assets, compressing image sizes is really important.
Besides slow speed, users sometimes need images in specific sizes. Such needs often arise when filling out an online form or sharing an image on a social platform. All have set certain limits, as we just discussed.
For websites, many often see upload limits, for example:
- 100 KB for forms, avatars, and ID uploads
- 200 KB for blog images and dashboards
Knowing the exact limit helps you compress the image correctly from the start.
What Affects JPEG File Size?
Multiple factors together control the size of a JPEG image. These include:
- Image Dimensions: If the width and height of the image are large, the file size will increase. Because more pixels mean more data.
- Metadata: Camera data and location info add bytes.
- Color and detail: Busy photos compress worse than simple graphics.
- Quality setting: The lower the image quality, the smaller the file size.
How to Compress JPEG images to Meet Any Upload Size?
The easiest and most efficient way to compress JPEG images is to use a JPEG compressor tool like ours. You can also reduce the file size manually by removing metadata and resizing the image.
Here’s a general rule of thumb for adjusting dimensions to reduce a JPEG file size.
- For under 100 KB, reduce the dimensions to about 800-1200 px on the long edge, then set JPEG quality to 50-70.
- For under 500 KB, aim for 1200 to 2000 px and a quality range of 70 to 85.
This manual adjustment is quite hectic and difficult for many to handle. Also, what if the need is to get a defined file size? Achieving that manually can be challenging, too.
But no need to worry. If you want to compress a JPEG image to a defined size, here’s what can help you do that fast and accurately.
Step 1. Open JPEG Compressor Tool
To begin, start by opening our JPEG compressor tool. For this:
- Open any browser, whether on mobile or desktop.
- Search for Imagetotext.me.
- Go to the tools section in the menu bar.
- Click/tap on the JPEG compressor to open it.
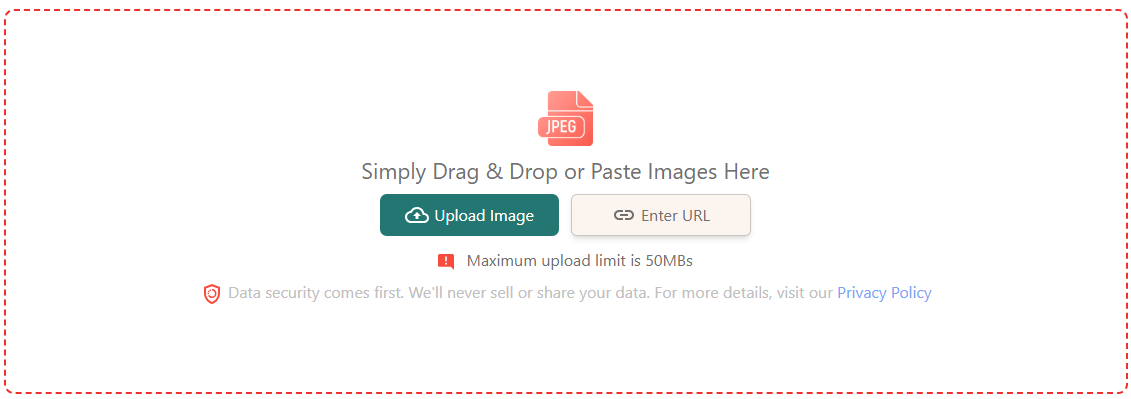
Step 2. Submit Your JPEG Images
Once you are on the tool, submit the JPEG images you want to compress. You can submit as many as you want at once, but the total size is limited to 50 MB.
Once uploaded, you will see the interface as shown below. Here, the tool compresses your JPEG image by default by 60%, which is changeable.
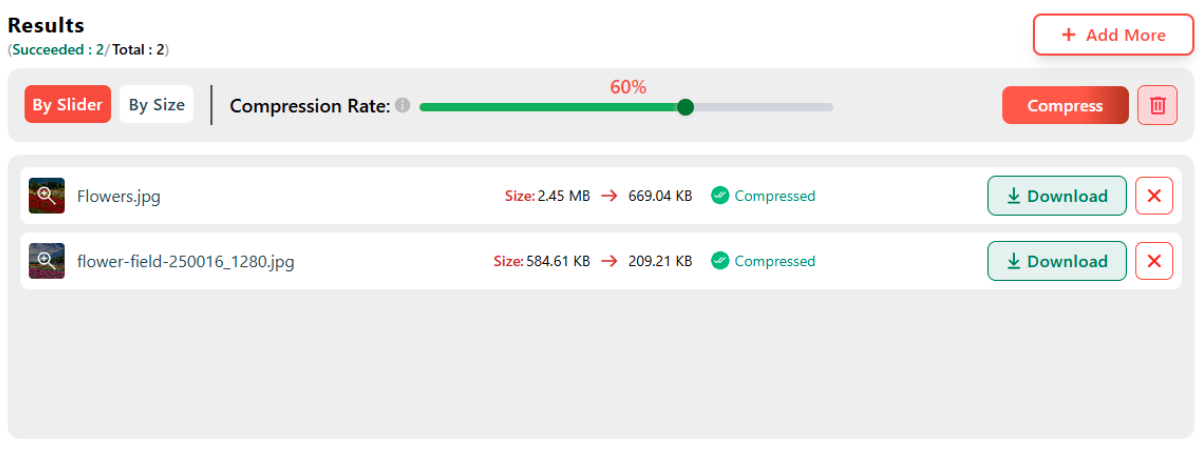
Step 3. Choose Compression Rate
Now comes the main part where our JPEG compressor tools let you meet any uploaded image. As mentioned earlier, the tool automatically compresses the provided images by 60%.
You can change the compression percentage by dragging the slider left and right. Once done, click the compress button again.
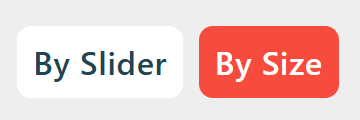
However, if you want to compress by defining the size, let's say in bytes, KB, or MB, click the switch to change the compression from ‘By Slider’ to ‘By Size’.
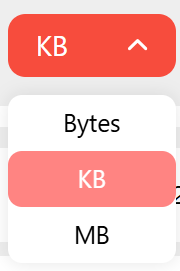
After this, choose the unit (Bytes, KB, or MB) from the dropdown.
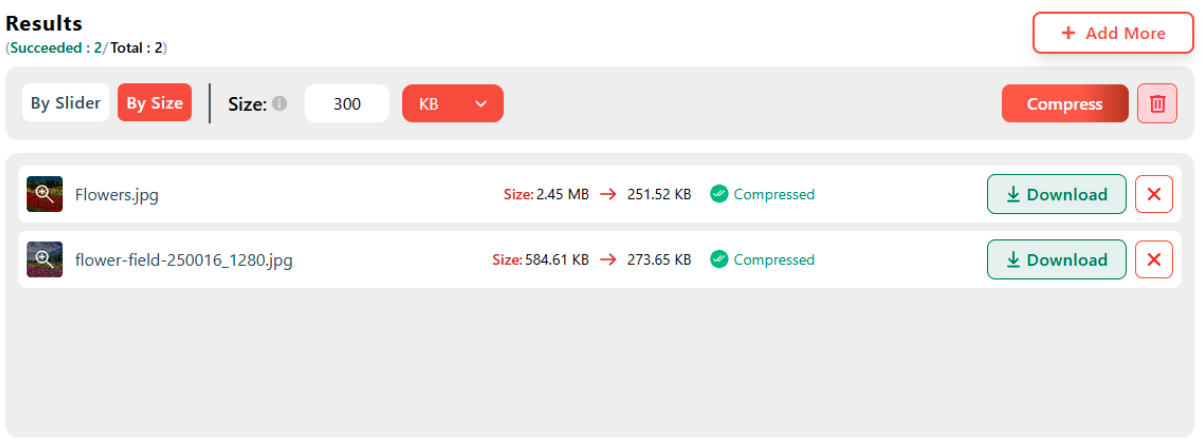
Next, enter the number or size you want to achieve in the box, then tap or click the compress button. Your JPEG image will be compressed to that size instantly.
For demonstration purposes, let’s say we want the uploaded image to compress to meet the 300KB upload limit. What we are gonna do is set the unit to KB, enter 300 inside the box, and click the compress button. The tool will instantly compress the JPEG image file size and bring it under 300KB. For your reference, a screenshot is attached below.
Once compressed, you can download the images by clicking the download button next to them inside the results box. In case there are multiple ones, and you want to download all at once, you can download them as a zip folder by clicking the ‘Download Zip’ button.
Note: JPEG uses lossy compression, which reduces image quality instead of locking a fixed size. Since images vary in detail, the final file size may vary.
Compress JPEG Images to Standard Upload Sizes
Many websites and apps ask for images in fixed sizes. Because of this, users often need to compress JPEG images to the exact limits. To solve this problem, we offer some predefined compression options that are very helpful. They save time and remove guesswork.
Below are the most common size options and how they help.
1. Compress JPEG to 200KB
You can use our Compress JPEG to 200KB tool when a website or another online platform requires images under 200KB. This limit usually applies to:
- Blog images
- Dashboards
- Profile pictures
The tool automatically adjusts image quality and size, letting you meet the 200KB limit without manual effort.
2. Compress JPEG to 100KB
You can use our Compress JPEG to 100KB tool to instantly compress JPEG image files to 100 KB. This helps you avoid upload errors and saves time. You just need to upload the image, and it will automatically be compressed to 100KB by default, which you can download with a single click.
3. Compress JPEG to 50KB
You can use our Compress JPEG to 50KB tool when you face strict upload limits. The tool reduces the image size smartly while keeping it usable. This way, you get an image that fits under 50KB and uploads without issues.
Some Extra Tips for JPEG Compression
- Always resize before compressing
- Avoid compressing the same image multiple times
- Keep one original file for safety
- Test images on mobile and desktop
- Match image size with actual display size
Avoid These Mistakes While Compressing JPEGs
- Over-compressing images without checking quality
- Ignoring image dimensions
- Uploading camera-sized photos directly
- Saving JPEG files again and again
Avoiding these mistakes keeps images sharp and professional.
When You Should Not Compress JPEG Images?
Sometimes compression is not a good idea.
- For printing purposes
- For professional photography work
- For design files that need full quality
In these cases, use high-quality images and avoid heavy compression.
Bottom Line
In this post, we explained how you can compress JPEG images to meet any upload limit. Our JPEG compressor tools help you meet upload limits, no matter the purpose for which you are compressing them. The process is simple when you follow the steps as described. Compress images using our tool, but must review the result before uploading. With smart compression, you can reduce file size without hurting image quality.